
Post-Hurricane Roof Maintenance Checklist for North Miami Homeowners
You step outside after the storm passes and notice a few shingles scattered across the driveway. The gutters are sagging on one side, and there's a faint drip somewhere inside the house you can't quite locate yet. If you own a home in North Miami, that sequence of events is not hypothetical, it's a routine part of life in Miami-Dade County. What you do in the hours and days after a hurricane or tropical storm can mean the difference between a minor repair and a full roof replacement.
This checklist walks you through every practical step of post-hurricane roof maintenance so you can assess your roof safely, document what you find, and make smart decisions about what needs professional attention. For a broader look at finding qualified help, see our guide to choosing a roofing company in North Miami.
Before You Start: What You'll Need
Smartphone or camera (for photo and video documentation)
Binoculars (for ground-level visual inspection without climbing)
Notepad or a notes app to log observations
Flashlight and a ladder rated for your roof height (if you plan any attic access)
Waterproof tarps and roofing tape (for temporary protection only)
Your homeowner's insurance policy number and claims contact
A copy of any recent roof inspection reports
Safety first: Never walk on a wet or debris-covered roof. If the structure has visible sagging, standing water, or you suspect structural damage, stay off the roof entirely and call a licensed roofing contractor for a professional assessment.
Step 1: Wait for the All-Clear Before Going Outside
Before you inspect anything, confirm that local authorities and the National Weather Service have issued an all-clear for your area. In North Miami and the broader Miami-Dade region, tropical systems can stall or produce dangerous wind gusts well after the main eyewall passes. Downed power lines, flooded streets, and unstable trees all pose serious risks in the immediate aftermath. Check local emergency management communications, and if a curfew is in effect, respect it. Your roof inspection can wait an hour or two; an injury cannot be undone.
Step 2: Do a Ground-Level Visual Inspection First
Walk the full perimeter of your home at a safe distance and use binoculars to scan the roofline from multiple angles. You are looking for obvious red flags that require immediate action before anything else:
Missing, cracked, or displaced roofing tiles or shingles
Exposed underlayment or decking (often appears as a dark patch where surface material has blown away)
Bent, detached, or clogged gutters and downspouts
Debris such as branches, palm fronds, or neighbor's materials sitting on the roof surface
Visible damage to ridge caps, hip caps, or flashing around chimneys and vents
Fascia boards that have pulled away from the roofline
Photograph everything you see, even if it looks minor. Insurers and roofing contractors both benefit from timestamped photos taken shortly after the storm.
Step 3: Inspect the Attic and Ceilings from Inside
An interior check often reveals damage that is invisible from the ground. Go into your attic with a flashlight and look for:
Active drips or wet insulation
Water stains on the decking or rafters that weren't there before the storm
Daylight visible through the roof deck (a clear sign of a breach)
Sagging sections of the decking
Then move through every room of the house and check ceilings and upper walls for new water stains, bubbling paint, or soft drywall. A leak that appears in the center of a room often originates several feet away at a flashing joint or a valley, water travels along rafters before it drips. Document the location of every interior sign with photos and note whether the stain is wet or dry when you find it.
Step 4: Clear Debris Carefully and Assess the Roof Surface
If it is safe to access your roof and the surface is completely dry, remove large debris before it causes secondary damage. Heavy branches sitting on tiles can crack them further with every breeze. That said, approach this step with caution:
Use a soft-bristle broom or your hands to move debris; dragging heavy items across tile can cause additional cracking.
Avoid stepping on clay or concrete tiles directly; step on the lower third of each tile near the batten, or on flat sections of decking if tiles are absent.
If debris removal requires getting close to the roof edge or working on a steep pitch, stop and call a professional. Falls are the leading cause of serious injury in post-storm roof work.
If you want it handled correctly the first time, consider professional roof repair in North Miami.
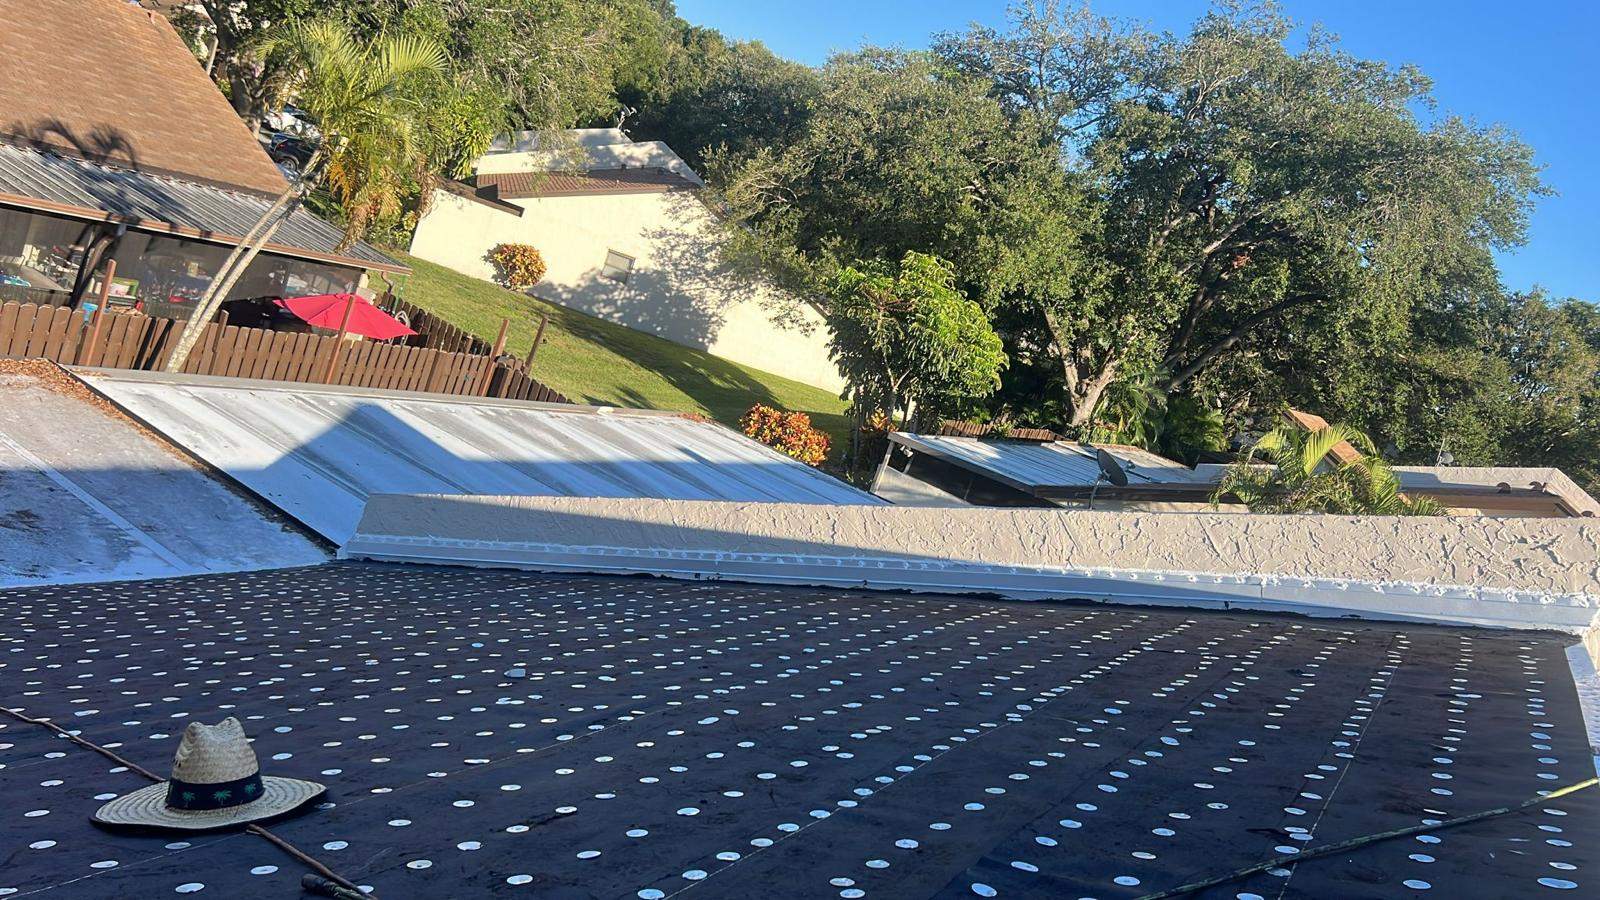
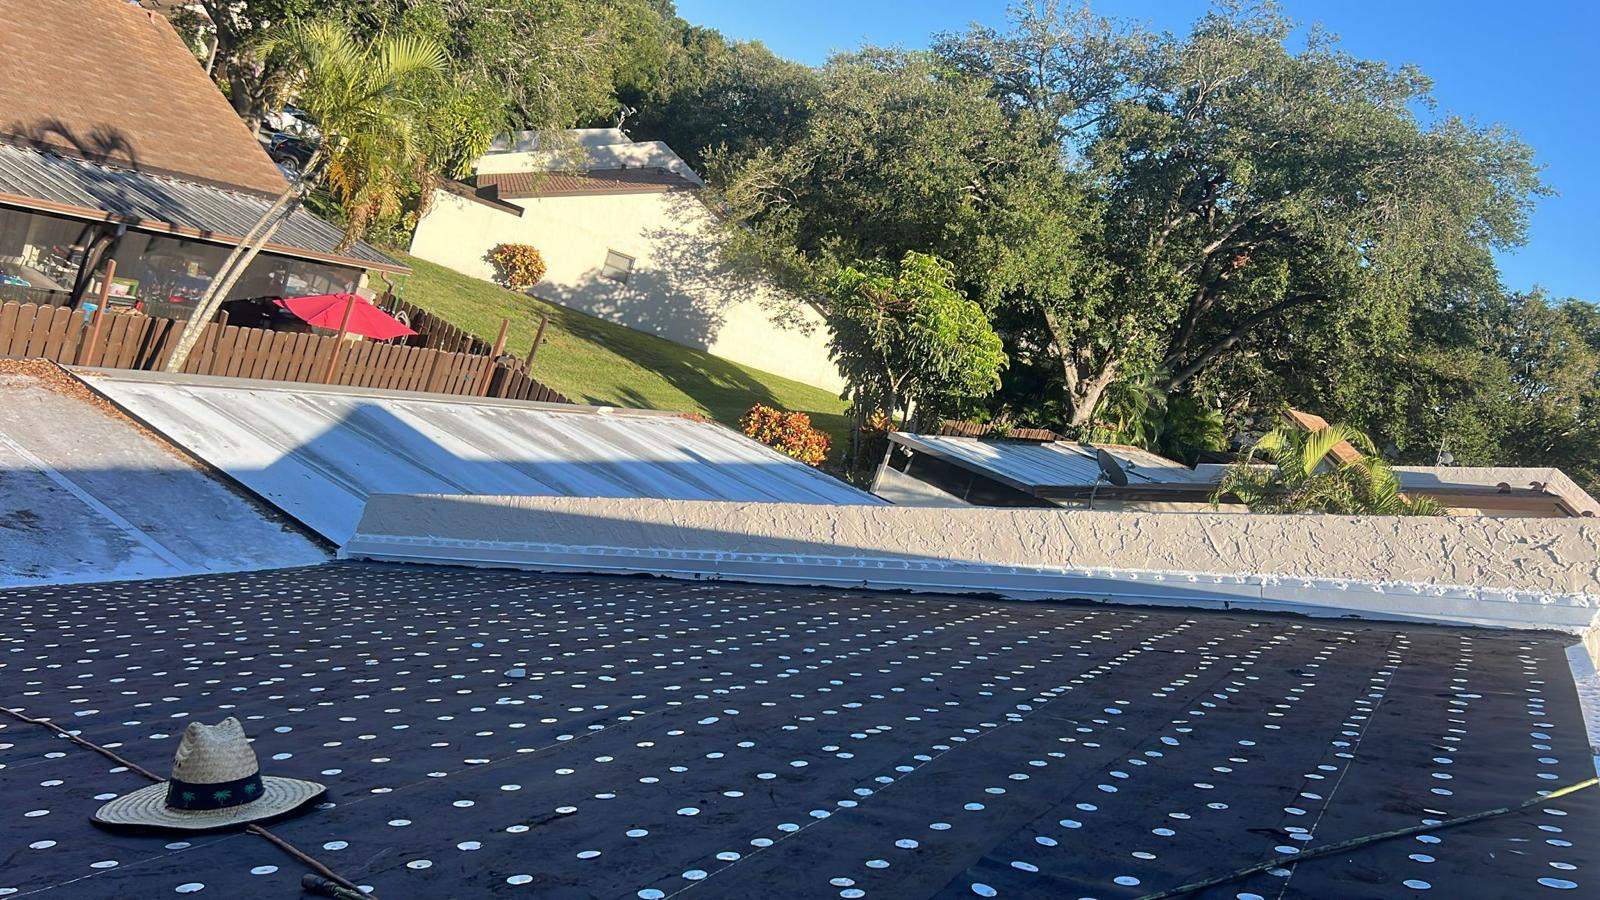
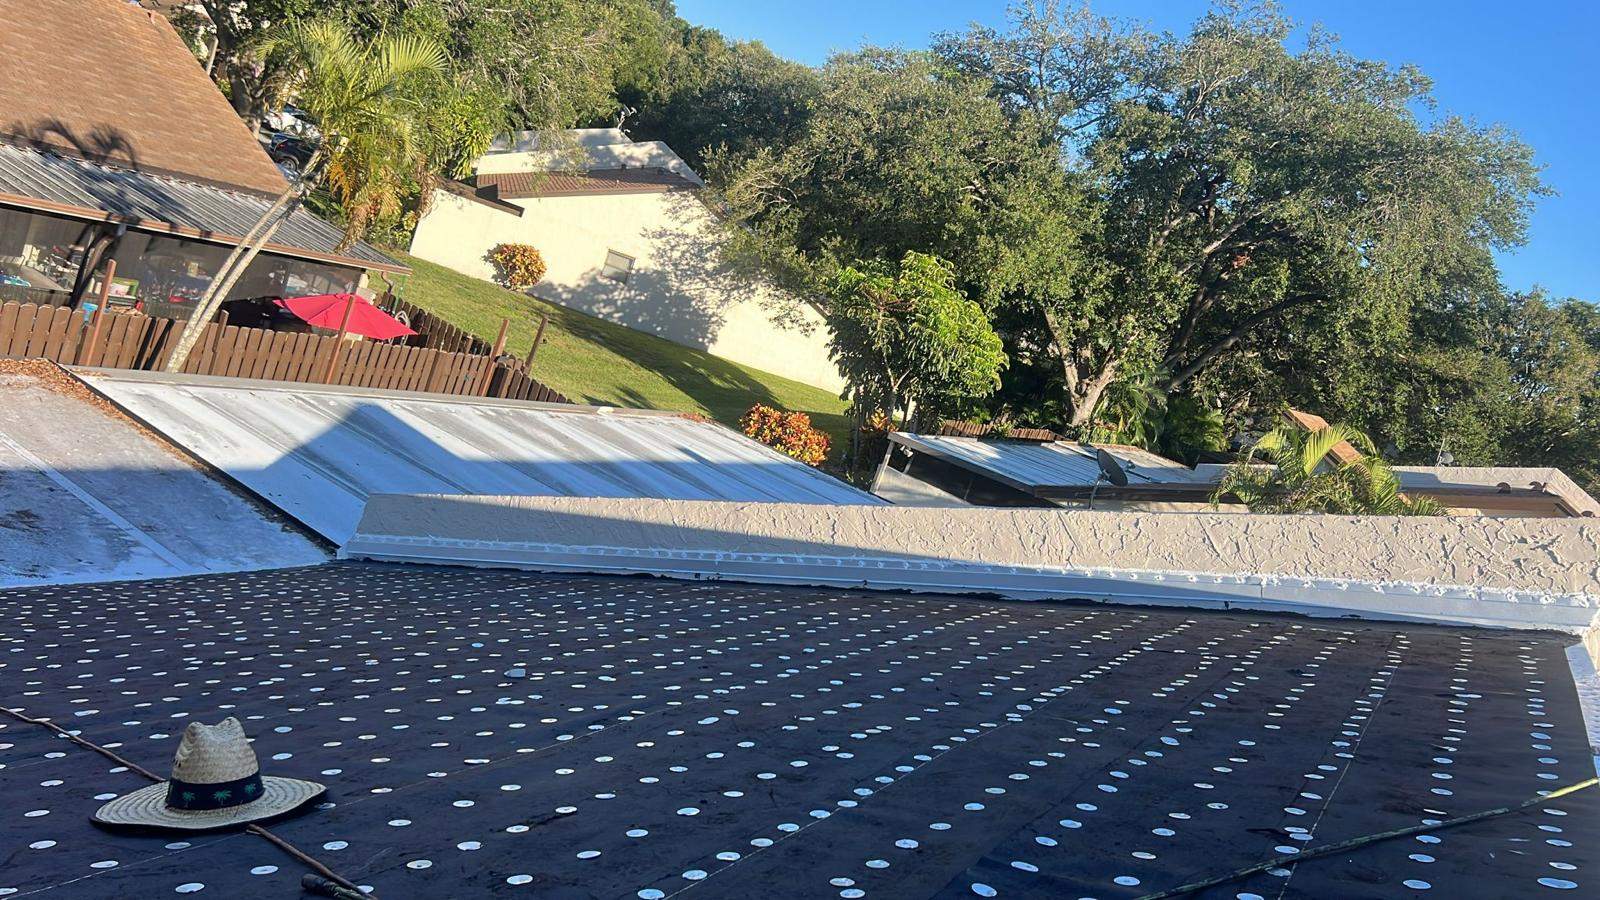
North Miami's housing stock includes a high proportion of barrel-tile and flat-membrane roofs, both of which have specific vulnerabilities after high winds. Barrel tile can look intact from the ground but have cracked mortar at the ridge or hip caps that lets water infiltrate. Flat roofs may show blistering or membrane separation that is only visible up close. Keep both possibilities in mind as you assess.
Step 5: Check Flashing, Vents, and Penetrations
Flashing is the metal material that seals the joints where your roof meets a wall, chimney, skylight, or vent pipe. It is one of the most common entry points for water after a storm because wind pressure can pry it loose even when the surrounding roofing material stays in place. Inspect every penetration point you can safely reach and look for:
Lifted, bent, or missing flashing sections
Gaps between flashing and the adjacent roofing material
Cracked or missing sealant around vent boots and pipe collars
Damage to any skylights, including cracked glazing or lifted frames
In Miami-Dade County, roofing systems are governed by the Florida Building Code, which includes specific wind-resistance requirements that are among the most stringent in the country. Flashing and penetration details are part of those requirements. If you are unsure whether a repair meets current code, that is a conversation to have with a licensed contractor rather than a DIY judgment call. Requirements can vary, so always confirm with your contractor or local building department.
Step 6: Inspect Gutters, Downspouts, and Drainage
Gutters take a significant beating during tropical weather. Clogged or damaged gutters cause water to back up against the fascia and eventually work its way under the roofing material, so this step matters even if the roof surface itself looks fine. Walk the gutterline and check for:
Sections that have pulled away from the fascia or are visibly sagging
Dents, cracks, or separated seams
Debris packed into downspout openings
Pooling water at the base of downspouts, which suggests a blockage
If your home has seamless aluminum gutters, check the end caps and outlet connections specifically, as those joints are the most likely to separate under wind load. For guidance on whether your gutter system needs replacement versus repair, the material choices you made at installation affect how gutters are attached and what repairs make sense.
Step 7: Apply Temporary Protection Where Needed
If you found exposed decking, missing tiles, or open flashing, temporary protection prevents a manageable situation from becoming a serious one before a contractor can arrive. Here is how to do it safely:
Use a heavy-duty polyethylene tarp rated for outdoor use. Extend it past the damaged area by at least two feet on all sides.
Secure the tarp with roofing nails or cap nails at the edges, or weight it with sandbags if you cannot nail into the surface safely.
Do not use standard duct tape or household plastic sheeting; neither will hold in South Florida's sun and humidity for more than a day or two.
If the damage is near the ridge, fold the tarp over the peak and secure both sides to prevent wind from lifting it.
Temporary tarping is exactly that: temporary. It is not a repair, and it will not satisfy an insurance adjuster as a permanent fix. Schedule a professional inspection as soon as contractors are available in your area.
Step 8: Document Everything for Your Insurance Claim
Before any repairs begin, compile a thorough documentation package. Insurance adjusters work from evidence, and the more organized your record, the smoother the claims process tends to be:
Date-stamped photos and video of all exterior and interior damage
A written list of every damaged area with approximate dimensions where possible
Copies of any previous roof inspection reports that establish pre-storm condition
Receipts for emergency materials (tarps, tape) you purchased
A log of every contractor visit, including name, company, date, and what they observed
Contact your insurance carrier promptly. Many policies have a reporting window after a storm event, and delays can complicate coverage. Ask specifically whether your policy covers wind damage, water intrusion, and debris removal separately, as the answers affect how your claim is structured.
Step 9: Schedule a Professional Roof Inspection
Many North Miami homeowners rely on expert roof repair in North Miami for exactly this.
Even if your visual inspection turned up nothing alarming, a professional evaluation after a major storm is worth scheduling. Roofing contractors are trained to spot hairline cracks in tile, micro-tears in membrane systems, and subtle shifts in flashing that a homeowner's eye will miss. In North Miami's climate, where the next tropical system can arrive within weeks, a small undetected breach can cause significant interior damage before you notice it.
When you contact a contractor, ask specifically for a post-storm inspection rather than a general estimate. A thorough inspection should include the roof surface, all penetrations, the attic space, and the gutter system. For more on what to look for when vetting who does this work, our complete guide to hiring a roofing company in North Miami covers the questions worth asking before anyone gets on your roof.
You can also review the specific signs of storm damage that often get missed during a homeowner walkthrough, so you can compare what you found against what a professional typically identifies.
When to Call a Professional in North Miami
Some situations call for a licensed roofing contractor immediately, without attempting any self-assessment beyond a ground-level look:
Any visible structural sagging or deformation of the roofline
Active water intrusion into living spaces during or after the storm
Missing sections of roofing material larger than a few square feet
Damage near electrical equipment, HVAC units, or solar panels on the roof
Any roof with a pitch steep enough that walking on it carries a fall risk
Flat or low-slope roofs where membrane damage is suspected but not visible from the ground
North Miami and the surrounding Miami-Dade area see a high volume of roofing contractors mobilize after major storms. Some travel in from out of state specifically to work in disaster-affected communities. While that increases availability, it also increases the importance of verifying that whoever you hire holds a current Florida roofing contractor's license and carries the appropriate liability and workers' compensation insurance. Licensing requirements are set at the state level, but always confirm current status directly with the Florida Department of Business and Professional Regulation before signing anything.
PSR Roofing Company of Miami offers professional post-storm roof inspections and repairs for homeowners throughout North Miami and the surrounding area. Reaching out sooner rather than later after a storm helps you get on the schedule before backlogs build.
Frequently Asked Questions
How soon after a hurricane should I inspect my roof in North Miami?
Begin your ground-level visual inspection as soon as local authorities confirm it is safe to be outside, typically within a few hours of the storm passing. Schedule a professional inspection within the first few days, both to catch hidden damage early and to meet your insurance policy's reporting requirements.
Can I walk on my tile roof to check for damage myself?
Walking on a tile roof without proper training and equipment carries a real risk of both personal injury and additional tile damage. A ground-level inspection with binoculars, combined with an attic check from inside, covers most of what a homeowner can safely assess. Leave the surface-level evaluation to a licensed contractor.
What is the most common roof damage after a tropical storm in Miami?
In North Miami's housing stock, the most frequent post-storm issues are displaced or cracked barrel tiles, lifted flashing at penetrations and ridges, and gutter separation. Flat membrane roofs commonly show blistering or seam separation after sustained wind and rain exposure.
Does my homeowner's insurance cover post-hurricane roof repairs in Florida?
Most standard Florida homeowner's policies cover wind damage, but coverage details, deductibles, and exclusions vary significantly. Review your specific policy language and contact your carrier promptly after a storm. A licensed contractor can provide a detailed written assessment that supports your claim, but the coverage determination rests with your insurer.
How do I know if I need a full roof replacement versus a repair after a storm?
The answer depends on the age of the roof, the extent of the damage, and the condition of the underlying decking and structure. A professional inspection will give you a clear picture of what is repairable and what has reached the end of its serviceable life. Our overview of roofing material options in North Miami can help you understand what a replacement would involve if that turns out to be the recommendation.
Keeping Your North Miami Roof Ready for the Next Season
Post-storm maintenance is not a one-time event in South Florida. The Atlantic hurricane season runs from June through November, and even named storms that weaken before landfall can deliver enough wind and rain to stress a roof that was already showing wear. Building a habit of annual professional inspections, keeping gutters clear, and addressing minor repairs promptly gives your roof the best chance of lasting through multiple storm seasons without a major failure.
If this checklist turned up anything that needs a professional eye, PSR Roofing Company of Miami is available for inspections, repairs, and full assessments throughout North Miami and Miami-Dade County. Reach out to schedule an evaluation before the next system forms.
Continue reading
- Complete guideHow to Choose a Roofing Company in North Miami›
- RelatedStorm Damage Signs: Check Your North Miami Roof›
- Related7 Factors That Drive Roof Replacement Costs in North Miami›
- RelatedLicensed vs Unlicensed Roofers in North Miami: What to Know›
- RelatedTile vs Shingle Roofs for North Miami Homes›
Need help with Roof Inspection?
PSR Roofing is Miami's licensed & insured expert for roof inspection. Free estimates, honest pricing, and 24/7 emergency response.