Where Is My Roof Leak Actually Coming From? A Miami Roof Repair Diagnostic Guide
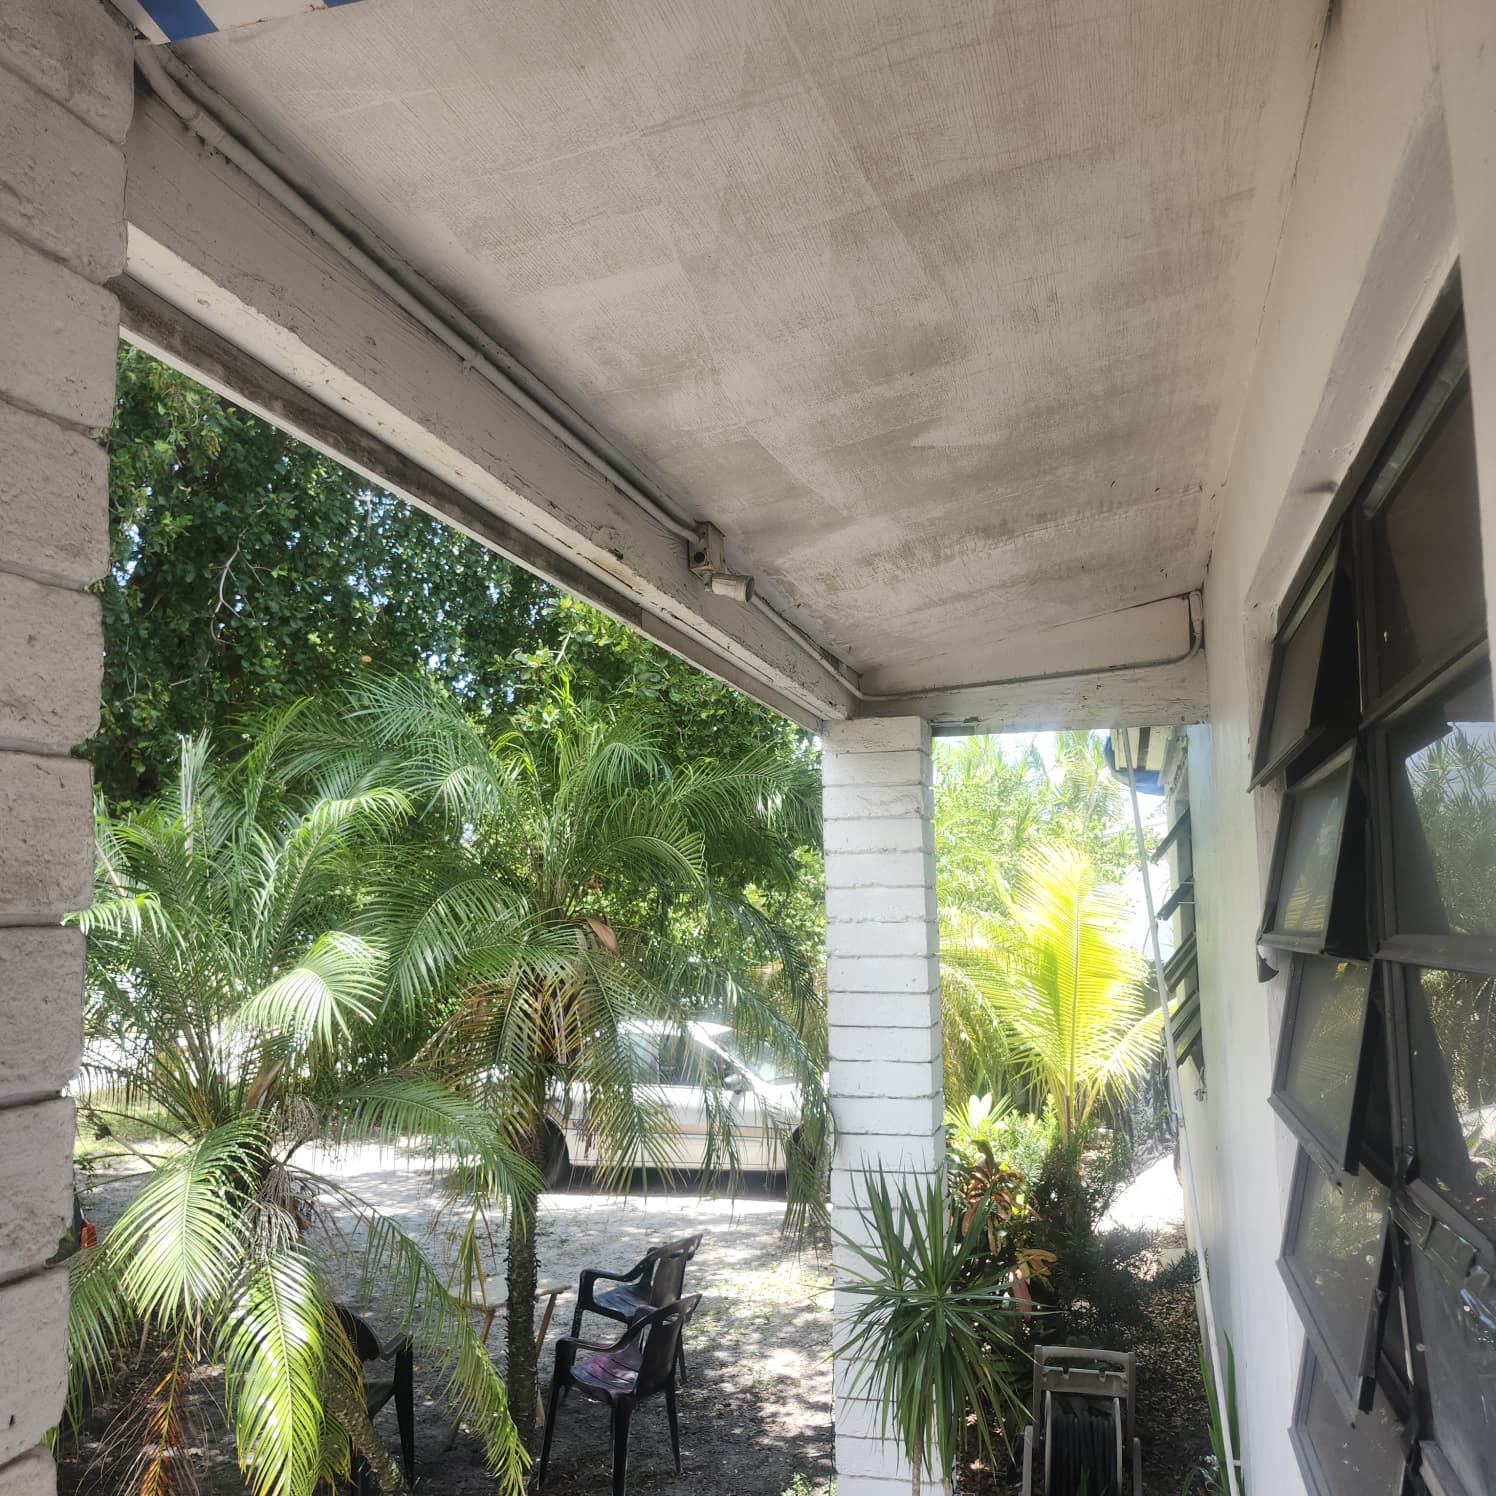
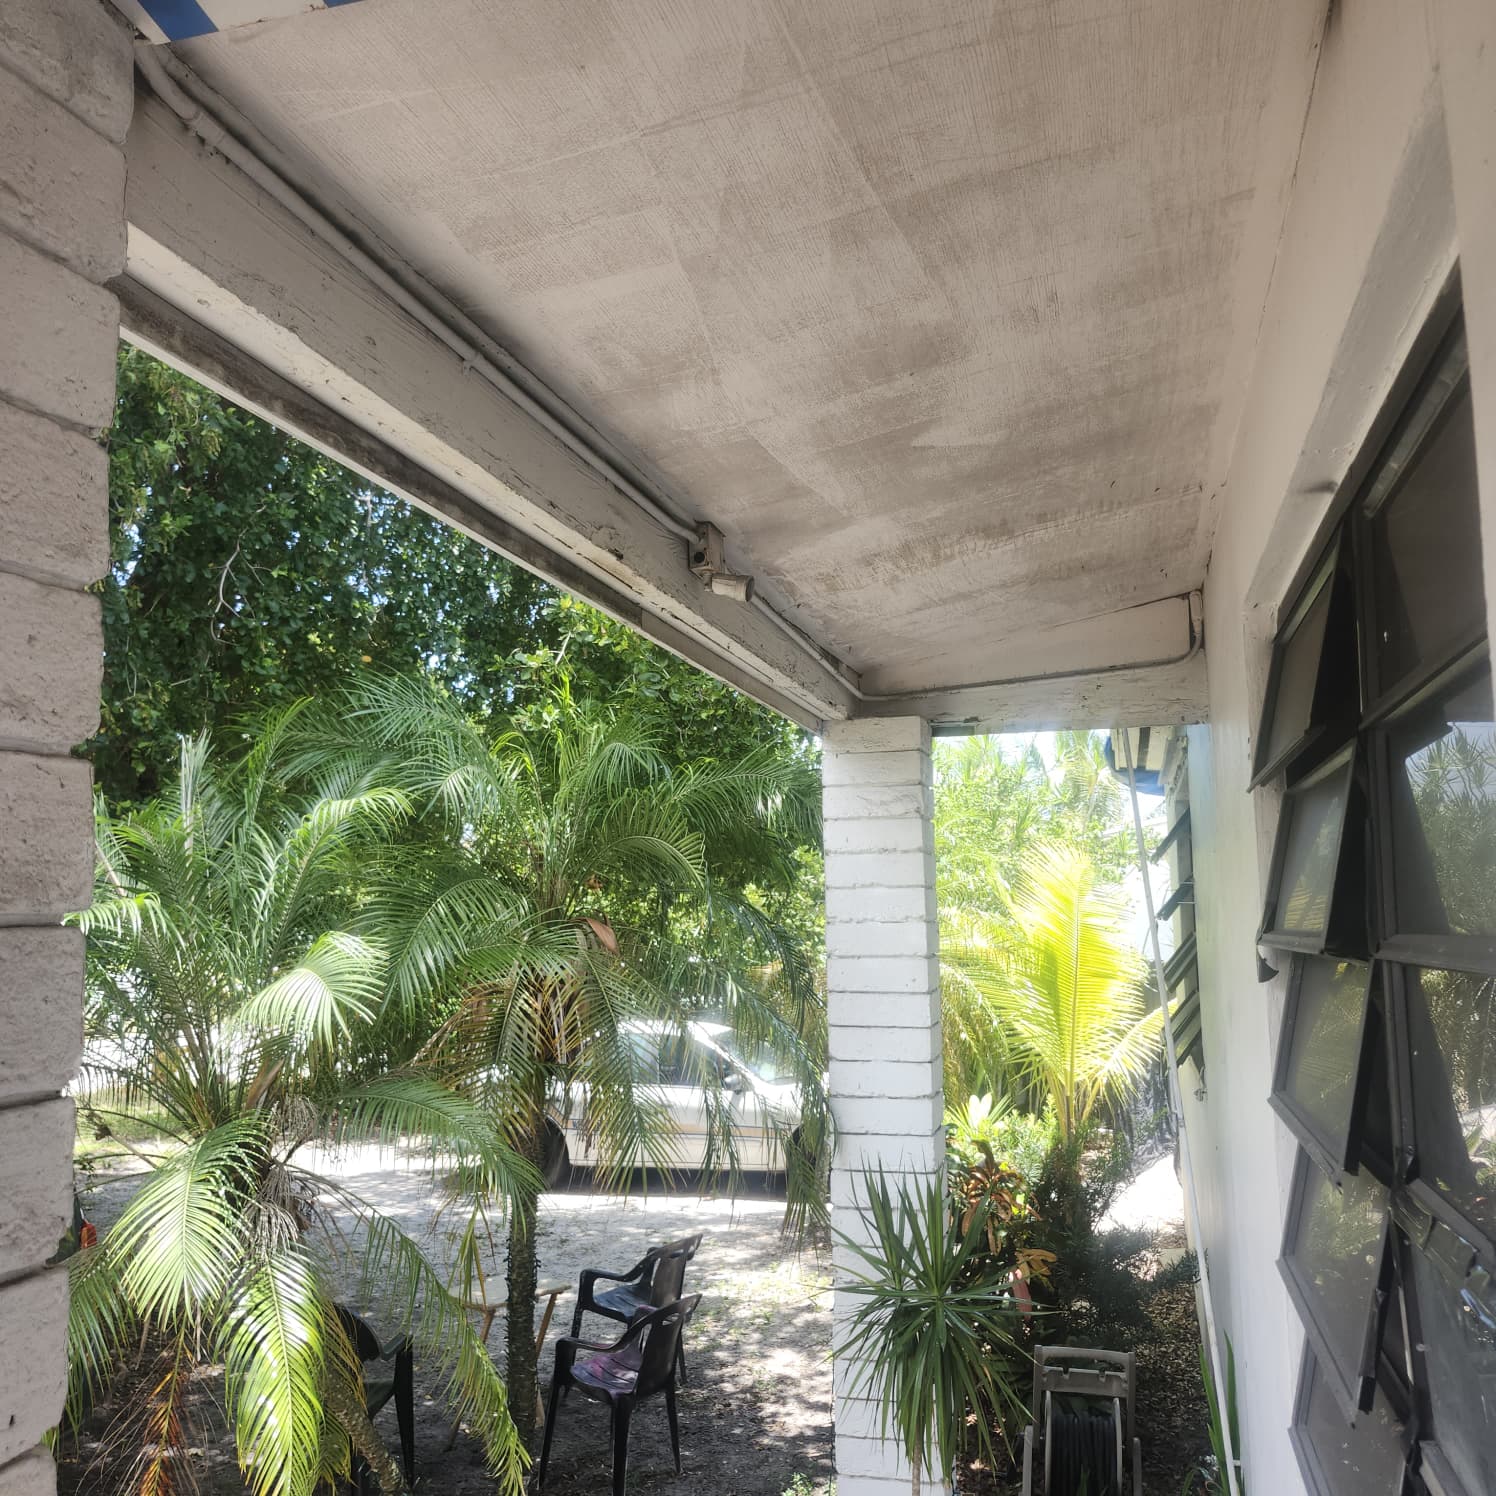
A ceiling stain almost never sits under the hole that caused it. Water enters the roof at one point, runs along the top of the underlayment or down a rafter, and drops through the drywall wherever gravity and a seam happen to meet — frequently six to fifteen feet away from the actual breach. That single fact explains why so many homeowners pay for a repair, watch the stain reappear after the next storm, and conclude that roofers cannot fix leaks. The repair was fine. The diagnosis was wrong.
This guide walks through how a licensed contractor isolates the true entry point during a roof repair, what the five most common failure points look like from the ground and from the attic, and where the line sits between a job you can safely handle and one that belongs on a permit.
The Five Places Miami Roofs Actually Leak
Field data across the industry puts flashing failures at roughly 40 to 50 percent of residential leaks. Shingles and tiles — the part everyone looks at first — are further down the list.
1. Flashing and Terminations
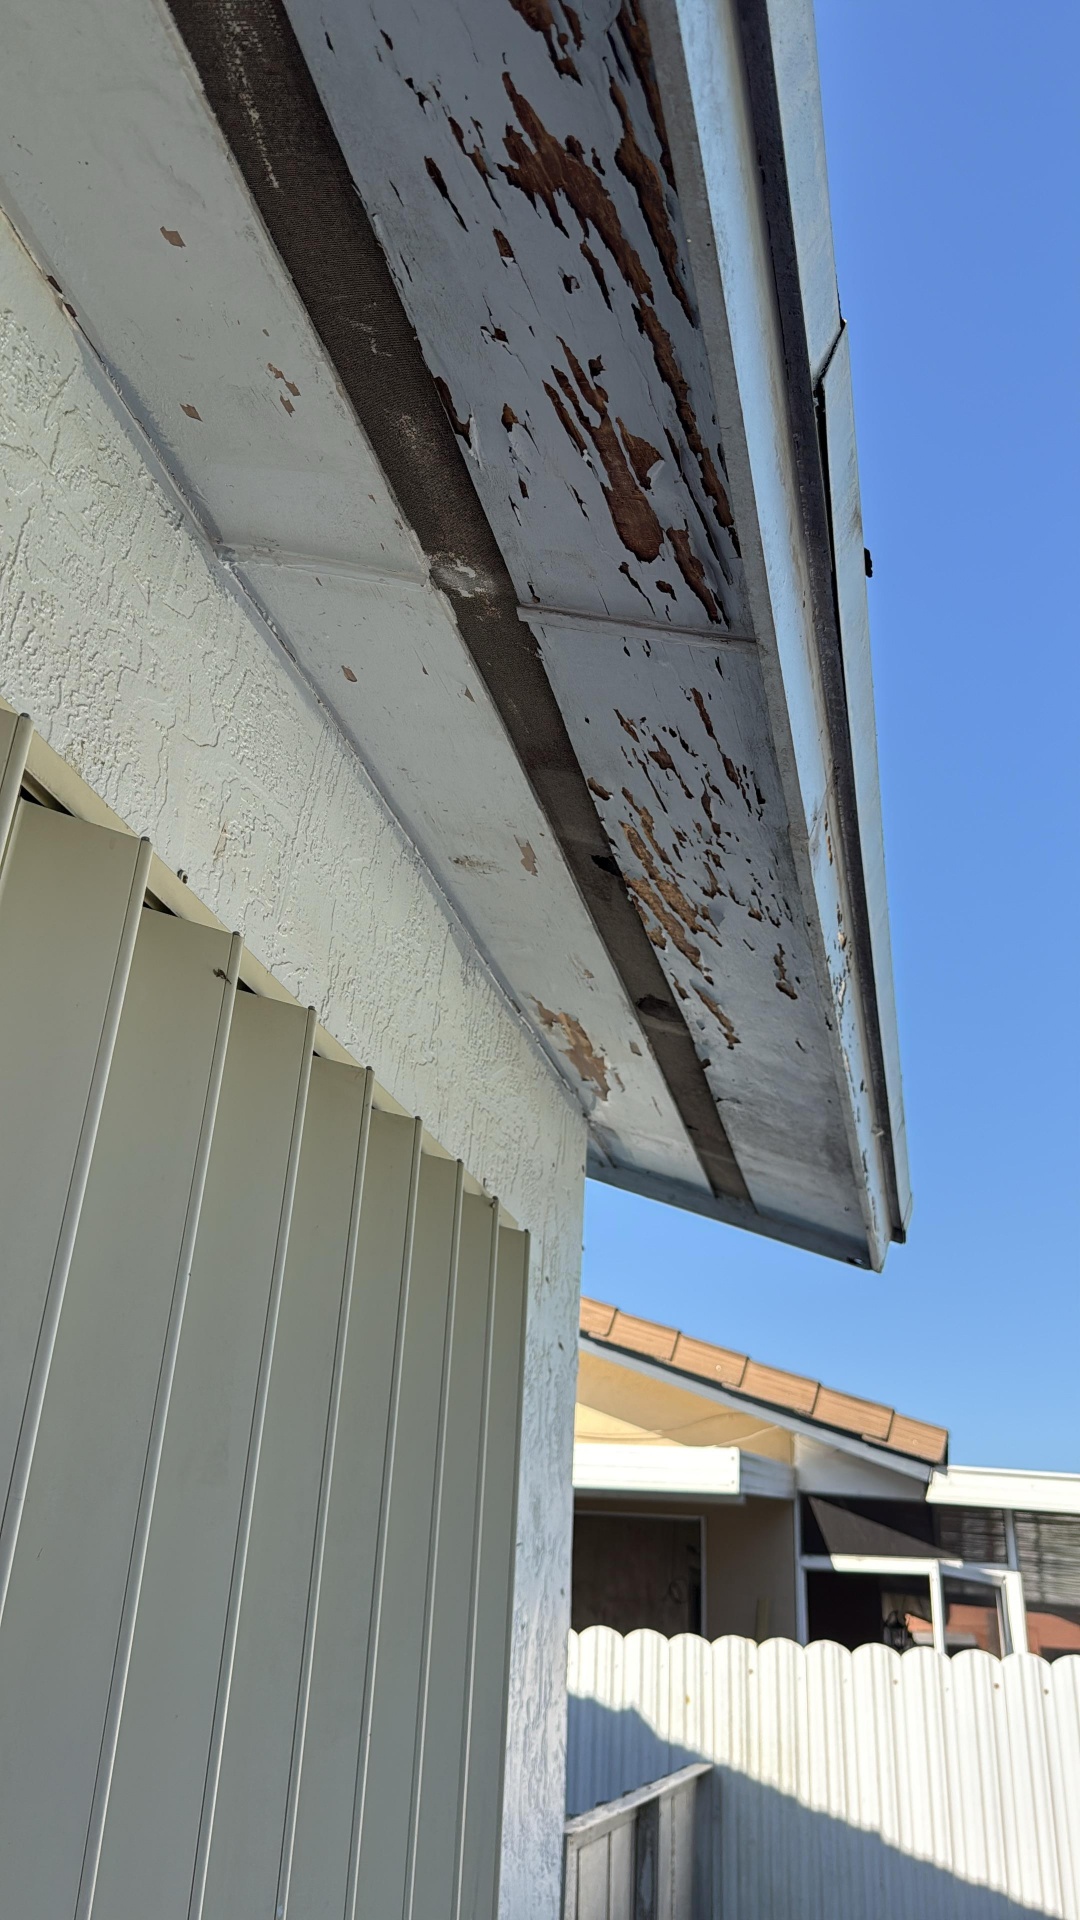
Anywhere the roof plane meets something vertical, a metal transition carries the water back onto the field: chimneys, parapet walls, skylight curbs, stucco wall lines, and roof-to-wall step flashing. In Miami these details fail early because salt air corrodes fasteners and the daily thermal cycle works sealant loose. A rusted counterflashing reglet or a lifted stucco stop is the single most common cause of an interior stain.
2. Pipe Boots and Vent Penetrations
Rubber and neoprene boots around plumbing stacks harden and split under UV exposure, typically in eight to twelve years — well before the roof itself is finished. They are cheap to replace and responsible for a disproportionate number of leaks over bathrooms and kitchens.
3. Valleys
Where two roof planes converge, the volume of water is highest and the debris load is worst. A valley clogged with leaf litter behind a tile course backs water up under the covering until it finds a nail hole.
4. Fasteners and Ridge Details
On tile roofs, cracked mortar or failed ridge closures let wind-driven rain enter directly. On metal roofs, oversized or backed-out screws with compressed washers leak under pressure even though nothing looks broken from the driveway.
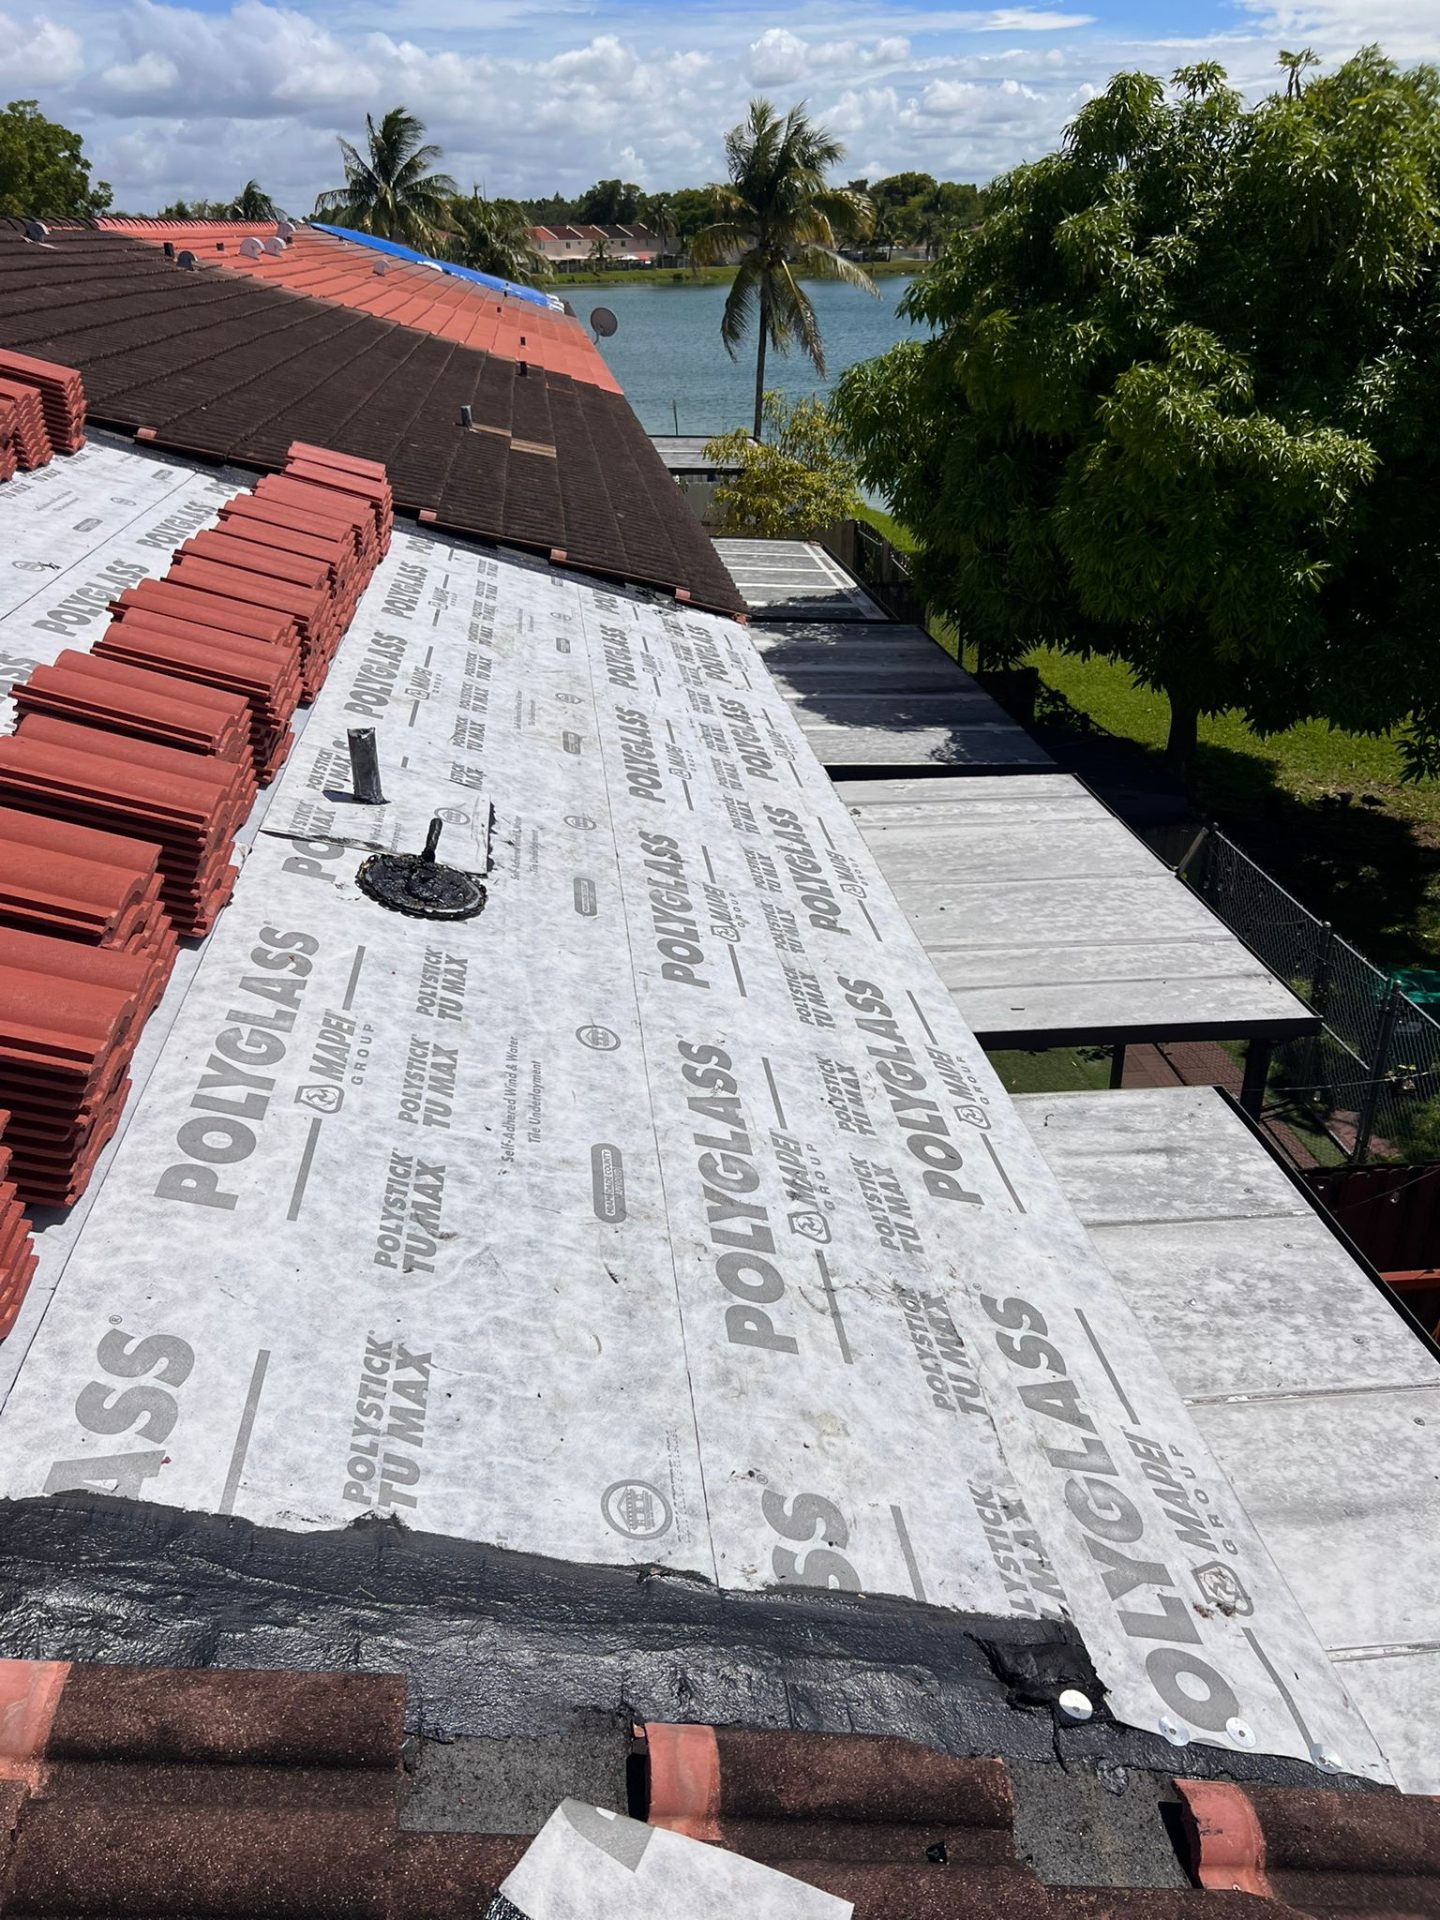
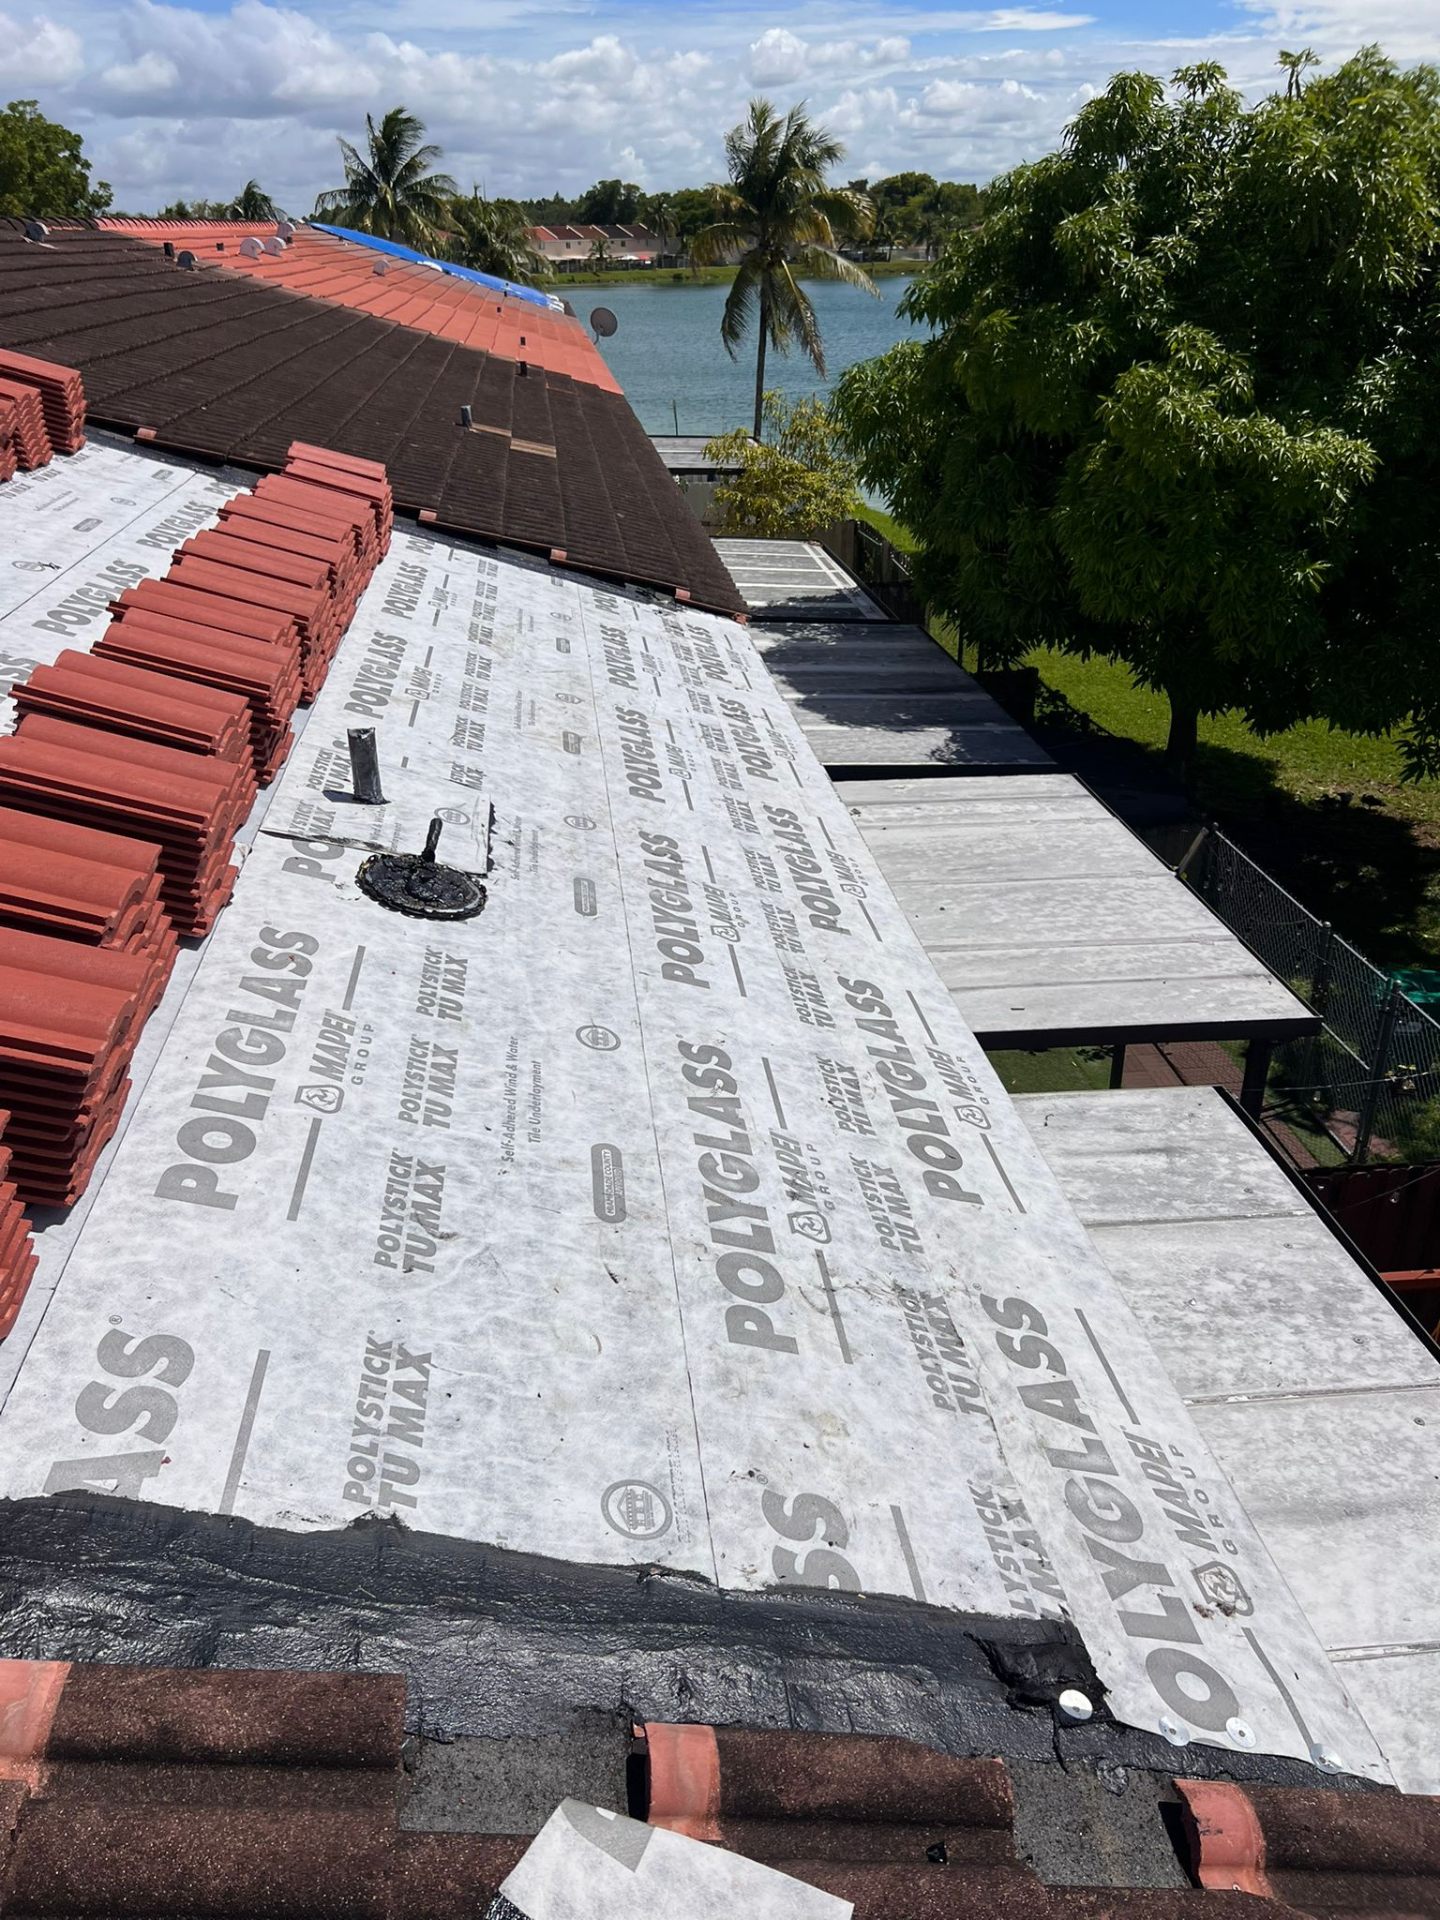
5. The Underlayment Itself
On a roof past fifteen years, the covering can look intact while the self-adhering membrane below it has become brittle. When multiple leaks appear in unrelated planes, the underlayment — not any single component — is what has ended its service life.
How a Professional Traces the Entry Point
Step One: Read the Interior
The stain is evidence, not an address. A technician notes which room, which side of the ceiling joist, and whether the drywall is wet at a seam, a can light, or a wall line. Wet insulation directly above a stain suggests a nearby entry; dry insulation with a wet rafter tail means the water traveled.
Step Two: Work the Attic
Wherever attic access exists, the fastest diagnostic is a daylight and moisture check from below — pinholes of light, darkened sheathing, rusted nail shanks, and water tracks on rafters. Following a track uphill leads to the breach far more reliably than guessing from the roof surface.
Step Three: Isolate on the Roof
The trade standard is a controlled water test: start low, flood one small zone at a time with a hose, and hold each zone for ten to fifteen minutes with an observer inside. Working uphill in sequence is what makes the result conclusive — soaking the whole roof at once proves nothing. Infrared imaging supplements this on flat roofs by revealing saturated insulation the eye cannot see, which is the same technique used during a formal roof inspection.
Step Four: Open and Verify
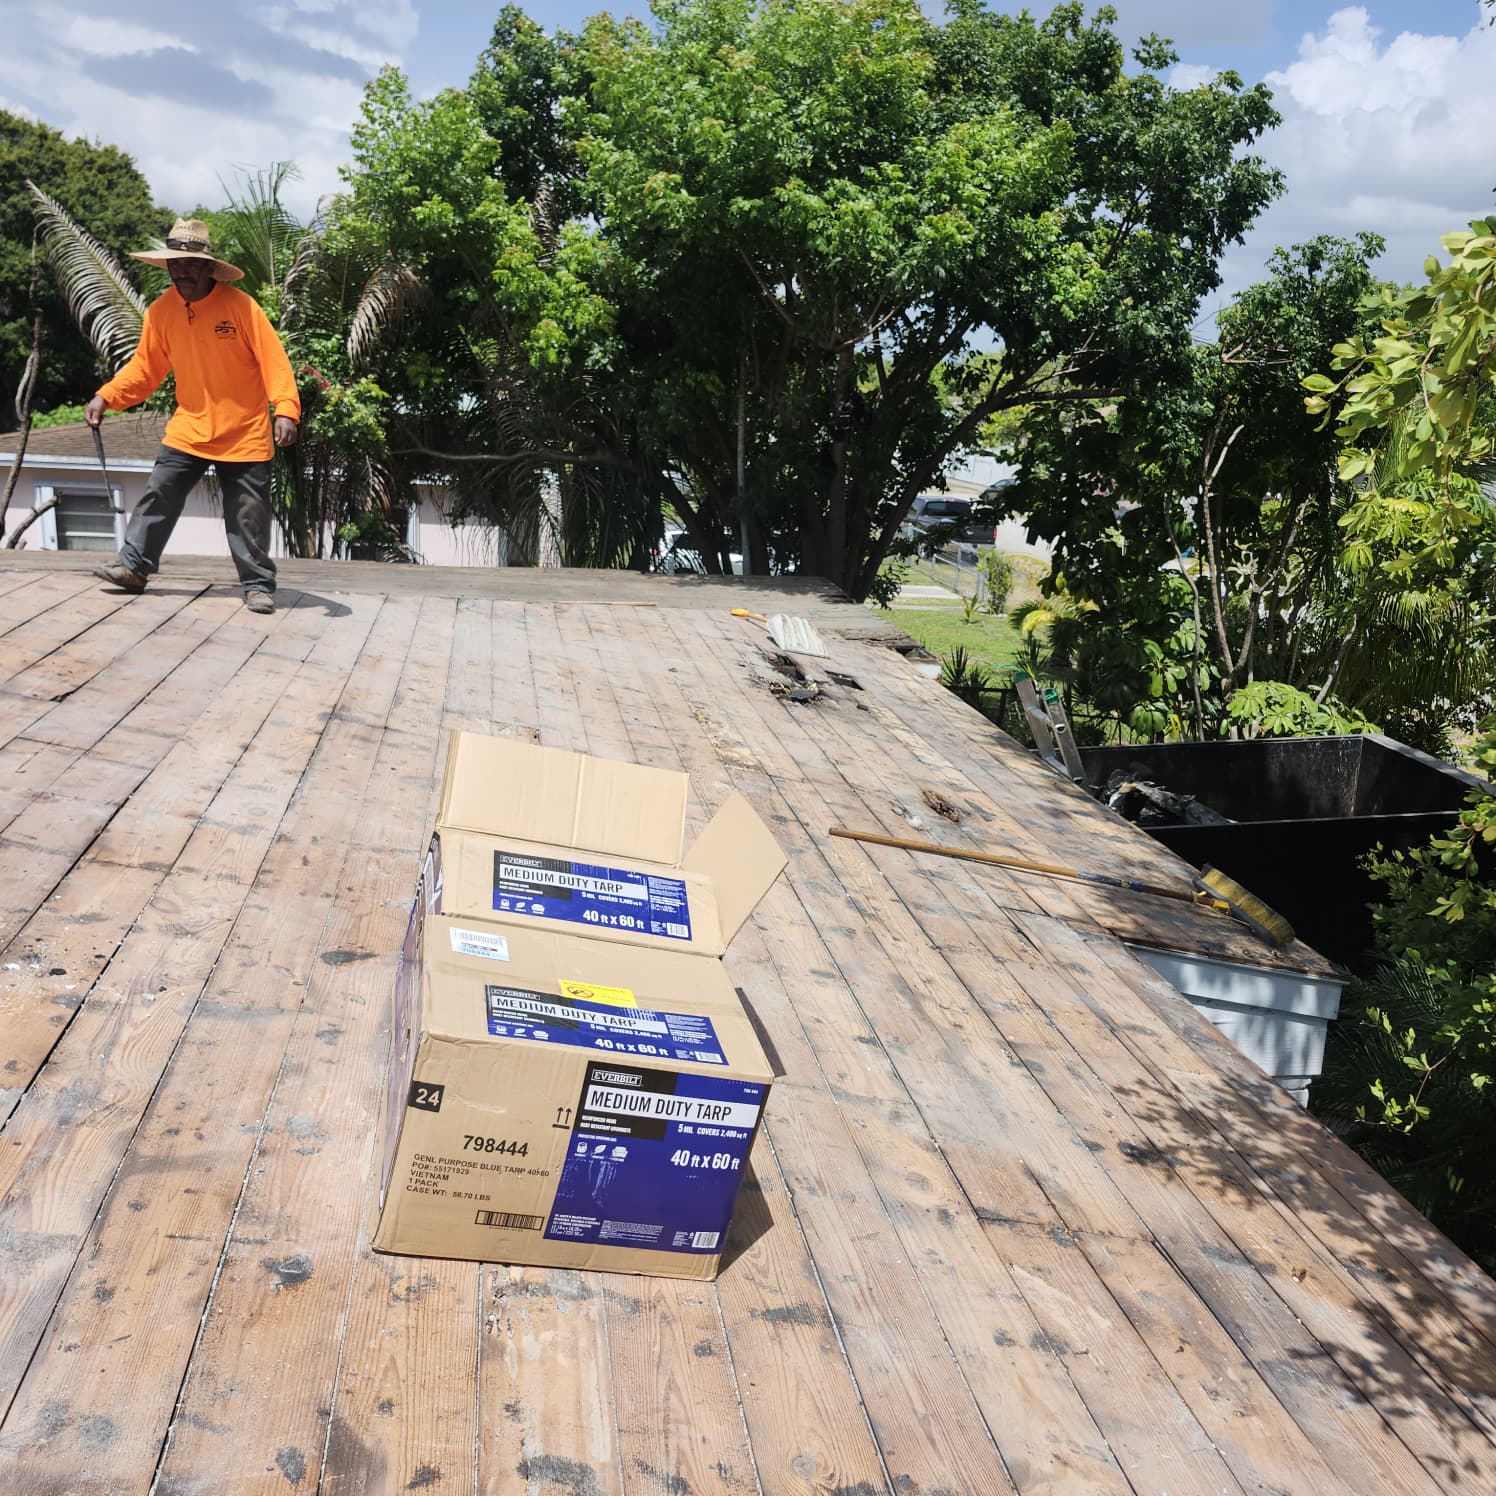
Once the zone is confirmed, the area is opened to expose the deck. That is the only point at which anyone can honestly tell you whether the plywood is sound, how far the moisture spread, and what the repair actually requires.
What You Can Safely Do Yourself — and What You Cannot
Reasonable DIY, on a low-slope, easily accessible roof, in dry weather:
- Clearing valleys, drains, and gutters of debris
- Photographing conditions for a claim or for your contractor
- Placing interior containment — a bucket and a small relief hole in a bulging ceiling to control where water lands
Not DIY, under any circumstances:
- Step flashing, chimney, and wall-line repairs, where the fix is layered into the wall assembly
- Tile removal and reset, since walking a tile roof incorrectly creates more damage than it repairs
- Anything on a pitch above roughly 6/12, on a wet surface, or near power service
- Any repair that opens the underlayment, which requires HVHZ-approved materials and a Miami-Dade permit
The most expensive DIY outcome in this market is not injury — it is a caulk-and-tar patch that traps water inside the assembly and rots the deck silently for two seasons. If water is actively entering during a storm, call for emergency roofing and let mitigation be professional; your policy generally requires you to limit damage, not to climb.
Why the Same Leak Comes Back
Three patterns account for most repeat leaks. First, the surface was replaced but the underlayment beneath it was not, so the water path was never interrupted. Second, only one of several penetrations was addressed — boots installed the same year tend to fail the same year. Third, the actual source was a wall or window detail above the roof line, meaning the roof was never the problem at all. A written scope that names the specific component being replaced is the simplest protection against all three.
Frequently Asked Questions
How long can I wait to repair a small roof leak?
In Miami's humidity, a slow leak begins producing microbial growth in wet gypsum and insulation within roughly 24 to 72 hours. The roofing cost changes little; the interior cost multiplies.
Can a leak be found without water testing?
Often, yes — visible corrosion, a split boot, or a debris-packed valley is frequently conclusive. Water testing exists for the ambiguous cases, and a contractor who declines to perform one on an unresolved leak is guessing.
My roof leaks only in heavy wind-driven rain. Why?
Wind pressure drives water horizontally and uphill under coverings. That pattern points strongly at terminations, ridge details, or fastener seals rather than a hole in the field of the roof.
Does a leak automatically mean I need a new roof?
No. An isolated component failure on a roof with remaining service life is a repair. Leaks in several unrelated planes are a different conversation, and one worth having about roof replacement.
Get the Source Found Before You Pay for a Fix
If you have a stain, a drip, or a leak that has already been "repaired" once, the right next step is a diagnostic that ends with a confirmed entry point in writing. PSR Roofing Company Of Miami performs attic and water-test diagnostics, documented repair scopes, and permitted, HVHZ-compliant work across Miami-Dade.
Call (786) 889-4090 or request a roof repair diagnostic.
Visit us: 1811 NE 142nd St, Miami, FL 33181 — view on Google Maps
Need help with Roof Repair?
PSR Roofing is Miami's licensed & insured expert for roof repair. Free estimates, honest pricing, and 24/7 emergency response.